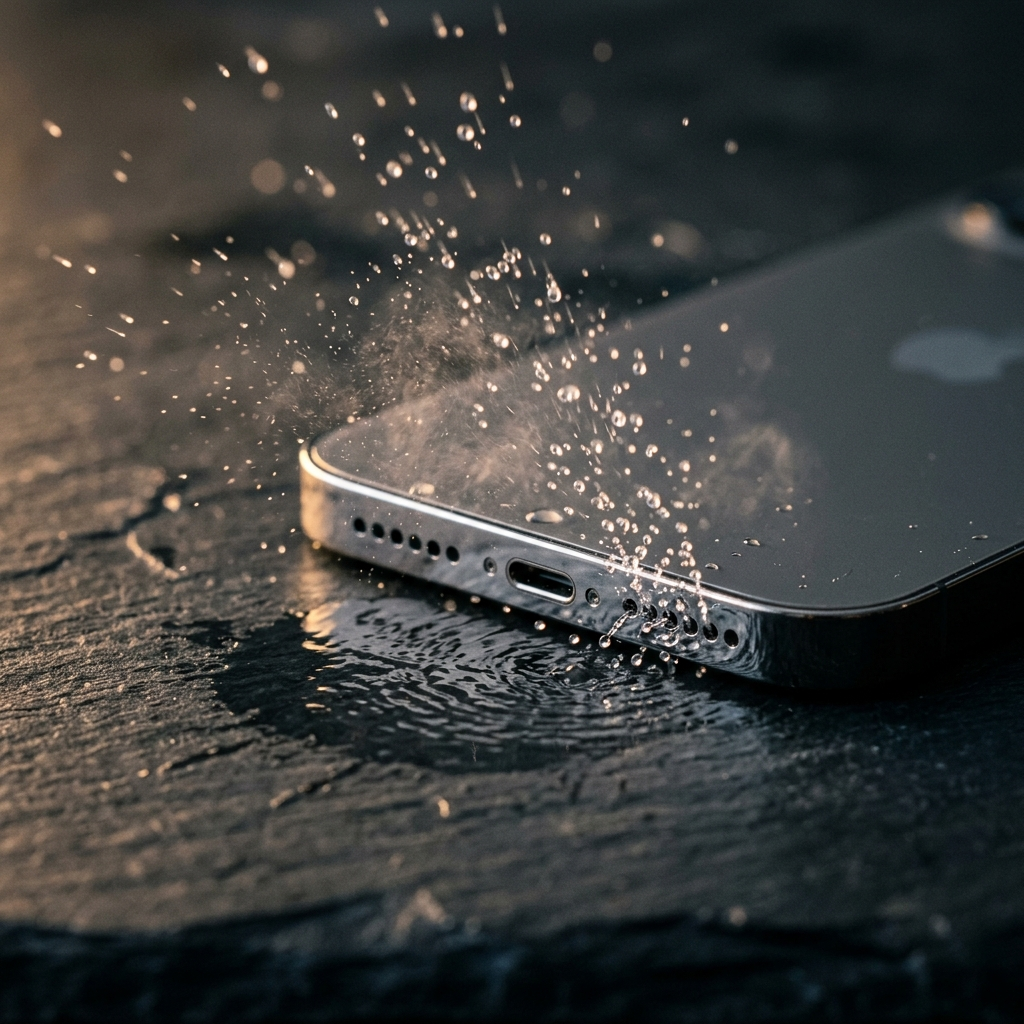
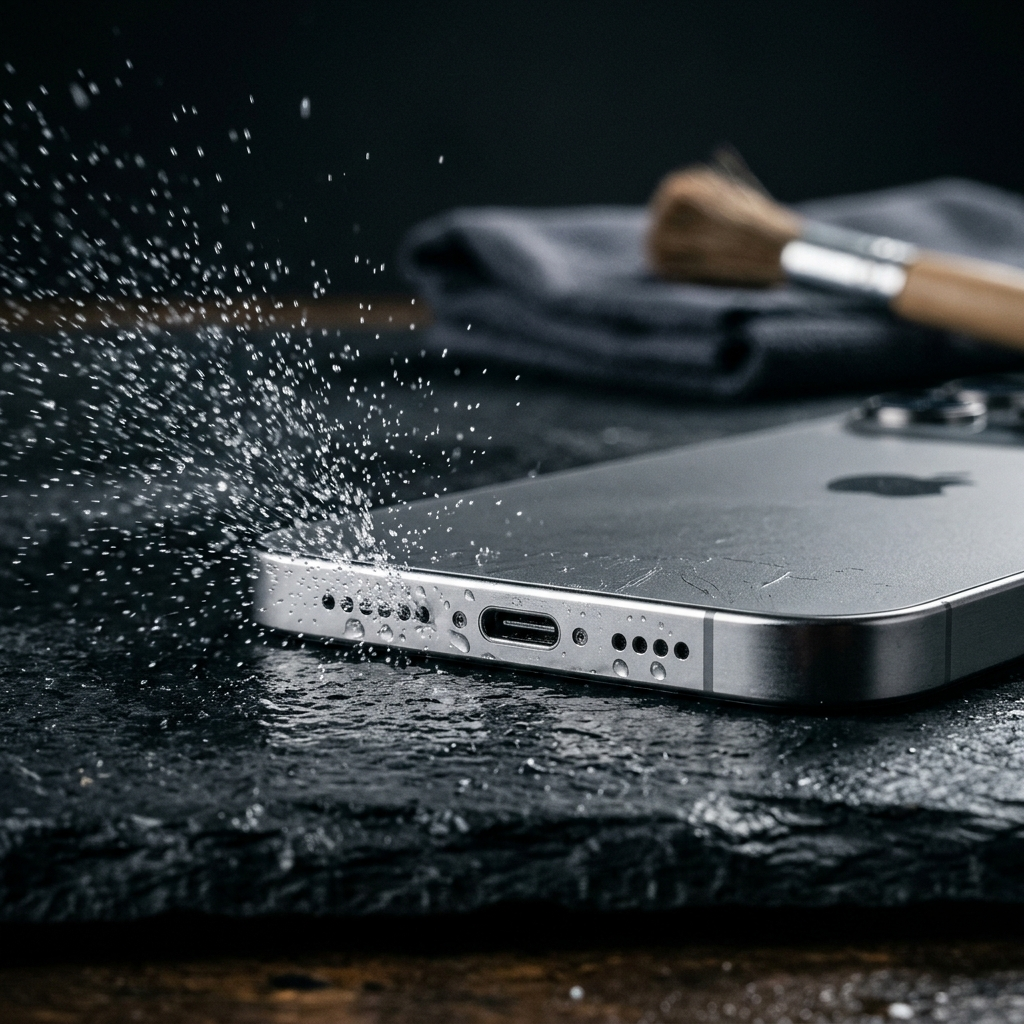
How to Tell if a Phone Speaker Is Blown or Full of Water
A waterlogged phone speaker produces a muffled, low-volume output caused by liquid dampening the acoustic diaphragm, whereas a blown speaker produces harsh buzzing, rattling, or raspy distortion caused by permanent physical failure of the internal voice coil. While fluid-induced dampening is temporary and reversible through evaporation or acoustic displacement, mechanical driver failure is permanent and remains audible regardless of drying time.
Distinguishing between fluid ingress and electro-acoustic failure prevents costly, unnecessary repairs. Modern smartphones rely on miniature dynamic micro-transducers that measure only a few millimeters across. When sound quality degrades abruptly after an accident, misdiagnosing the root cause can lead to discarded hardware or improper interventions that cause secondary moisture damage inside the chassis.
The Mechanics of Micro-Speaker Failure vs. Moisture Ingress
Smartphone micro-speakers consist of five core parts: a permanent magnet, a suspended copper voice coil, a flexible polymer diaphragm, an enclosure basket, and a protective hydrophobic mesh. Sound is generated when electrical current moves the voice coil, causing the diaphragm to displace air at precise frequencies.
When water enters the speaker port, surface tension binds liquid droplets across the fine pores of the acoustic mesh and settles on the front face of the polymer cone. This water adds mass to the moving system, increasing mechanical resistance. Because the diaphragm cannot oscillate freely, high-frequency transients disappear and sound waves lose acoustic pressure, resulting in a dark, underwater audio profile.
In contrast, a blown speaker stems from thermal or mechanical overload. When driven beyond its rated excursion limits or thermal boundaries, several physical failures occur:
- Voice coil deformation: Extreme heat melts the adhesive binding the fine copper wire windings, causing them to loosen and rub against the permanent magnet gap.
- Suspension fatigue or tears: Excessive physical excursion fractures the perimeter surround that centers the cone, allowing the diaphragm to wobble off-axis.
- Diaphragm puncture: Pressure differentials can deform the micro-thin polymer membrane, creating permanent acoustic buzzing.
Key Takeaway: Water impedes movement through fluid mass dampening without structural breakdown, whereas a blown speaker suffers from unseated components grinding against internal tolerances.
Acoustic Diagnostics: Three Tests to Identify the Fault
You can identify the failure mechanism without opening the device by conducting three systematic audio tests at controlled volume levels.
1. The Frequency Sweep Test
Play a clean sine-wave audio sweep ranging from 50 Hz to 10,000 Hz at 50% system volume. Listen closely for changes across the spectrum:
- Waterlogged response: The lower frequencies (below 300 Hz) sound muddy or subdued, while frequencies above 2,000 Hz drop out almost entirely. The audio remains clean of abrasive noise, even though overall output is drastically reduced.
- Blown speaker response: The driver emits a distinct, chattering raspy buzz or metallic click at specific resonant frequencies (often between 200 Hz and 800 Hz). This buzzing sounds like loose paper vibrating against a fan.
2. The Volume Threshold Test
Start playback of speech or acoustic music at 10% volume, then slowly raise it to 90% in discrete increments:
- Waterlogged response: Speech sounds consistently muffled and distant at low levels, but remains linear as volume increases without adding sharp mechanical crackles.
- Blown speaker response: Audio may sound surprisingly normal at 10% to 20% volume because minimal excursion occurs. Once the volume passes a specific threshold (often 50%), the voice coil exceeds its narrowed clearance gap, producing sharp static and harsh break-up.
3. The Stereo Isolation Test
Modern mobile operating systems include accessibility settings that allow you to balance audio between the top earpiece speaker and the bottom primary driver. Pan the audio balance entirely to the affected channel, then switch to the unaffected channel. Comparing the frequency balance against the functional speaker highlights whether the issue is a systemic volume drop or localized harmonic distortion.
Key Takeaway: If distortion increases strictly in proportion to mechanical excursion at mid-to-high volume, the voice coil is damaged; if tone is uniformly muted across all volumes, fluid blockage is the primary culprit.
Physical Inspection and Environmental Indicators
Acoustic tests should be paired with physical inspection of the handset. Liquid contact indicators (LCIs) provide definitive insight into whether liquid entered the internal cavity.
- Check the SIM tray slot: Remove the SIM card tray and illuminate the interior slot using a direct light source. A pink or red indicator confirms liquid contact, whereas a white or silver strip indicates that the internal chamber has not recorded major liquid submersion.
- Inspect the speaker grille under magnification: Use a magnifier and focused light to inspect the acoustic aperture. Liquid often reflects light as a convex meniscus across the micro-mesh. Dust build-up saturated with moisture creates a dense sludge that completely seals the grille.
- Evaluate recent event history: Consider the failure timeline. Driver failure typically follows sustained high-volume playback, bass-heavy equalization, or drop impacts that misalign the internal magnet. Fluid issues occur immediately after exposure to pools, sinks, rain, or high-humidity environments like steam showers.
Key Takeaway: A red LCI paired with muffled playback strongly points to fluid presence, while sudden distortion following drops or prolonged peak-volume use indicates structural coil damage.
Common Interventions That Cause Secondary Damage
When users suspect speaker failure, intuitive home remedies often convert a reversible moisture issue into permanent hardware damage. Avoid these standard pitfalls:
- Inserting foreign objects: Poking pins, paperclips, or toothpicks into speaker apertures punctures the hydrophobic acoustic barrier. Once this barrier is breached, liquid flows directly into the internal circuitry, and the diaphragm is destroyed.
- Compressed air canisters: High-pressure blasts force standing liquid past factory seals and can tear the delicate micro-speaker diaphragm off its surround suspension instantly.
- Direct thermal exposure: Using hair dryers or radiant heat sources degrades the acoustic adhesives holding the driver together and warps the polymer cone, mimicking blown-speaker symptoms on an otherwise functional driver.
- Desiccant immersion (The Rice Myth): Uncooked rice contains fine starch particles and dust that mix with moisture to form a paste, clogging the speaker grille pores and permanently muffling audio output.
Key Takeaway: Never use mechanical probes, compressed gas, or intense heat on micro-acoustic components; non-invasive methods protect both the transducer and internal seals.
Step-by-Step Triage and Resolution Protocol
Follow this systematic procedure to safely resolve the issue based on your diagnostic findings:
- Isolate and power down if liquid is fresh: If the phone was submerged within the last hour, turn it off immediately and blot the exterior with a lint-free microfiber cloth. Rest the phone vertically with the speaker port facing downward to encourage gravity drainage.
- Run an acoustic ejection cycle: If the hardware is powered and the speaker is muffled, play targeted low-frequency audio waves. Sound waves at specific frequencies generate rapid pressure differentials that break liquid surface tension and pump trapped droplets out of the acoustic chamber.
- Provide controlled drying conditions: Place the device in an area with warm, active airflow or in an airtight container with silica gel packets for 12 to 24 hours. Avoid static, stagnant environments.
- Re-test audio fidelity: Repeat the sine sweep test. If the sound profile returns to full clarity and volume, the fault was entirely liquid-related. If harsh rattling persists after the mesh is visibly dry and clear, the speaker is blown.
- Seek component-level repair: If mechanical distortion remains after 48 hours of drying, schedule a replacement of the speaker module. Micro-speakers are modular assemblies in most modern smartphones and can be replaced independently without replacing the main system board.
Key Takeaway: Clear liquid first using passive drainage and resonance-based acoustic tools before condemning the driver to replacement.
Restoring Clear Audio Performance
Distinguishing between a flooded speaker and a blown transducer comes down to understanding physical resistance versus mechanical damage. Muffled, dampened audio indicates moisture holding down the diaphragm, while abrasive rattling, chattering, and volume-dependent static point to a failed voice coil or torn suspension.
When moisture is the root cause, mechanical intervention is rarely required. Using dedicated utility software such as Speaker Cleaner helps dislodge trapped fluid by generating low-frequency acoustic pulses around 165 Hz, clearing the speaker mesh safely without risking component degradation. If acoustic ejection and thorough drying do not resolve the distortion, visit a certified technician to replace the physical micro-speaker module.